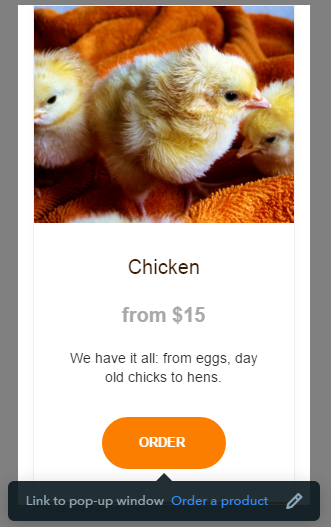
Before proceeding to pop-ups, we’re happy to mention that we’ve reimagined the link setting experience and built a more intuitive interface for creating and organizing links. Now you simply need to hover the mouse cursor over the button of a widget to see where it links to.

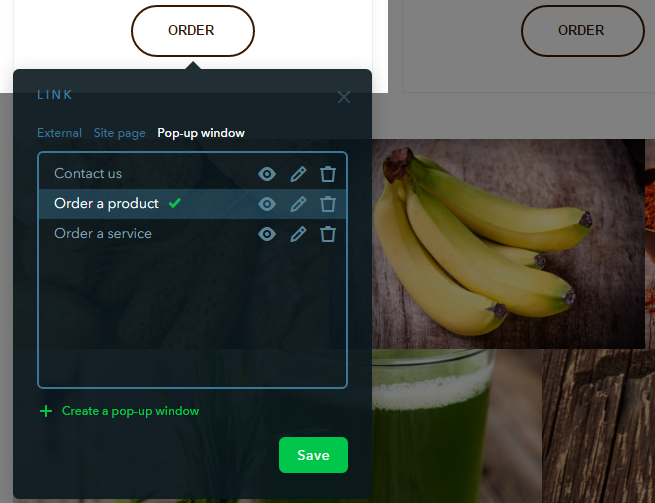
The pop-up window feature is available in the same menu as the links. Just click on the pencil icon to set it up. Here you can choose from the three options: external page, site page and a pop-up window.

After you select “Pop-up window”, you are offered three preset forms: Contact us, Order a product, and Order a service. Each of them can be easily adjusted to your needs, or you can add a custom form.
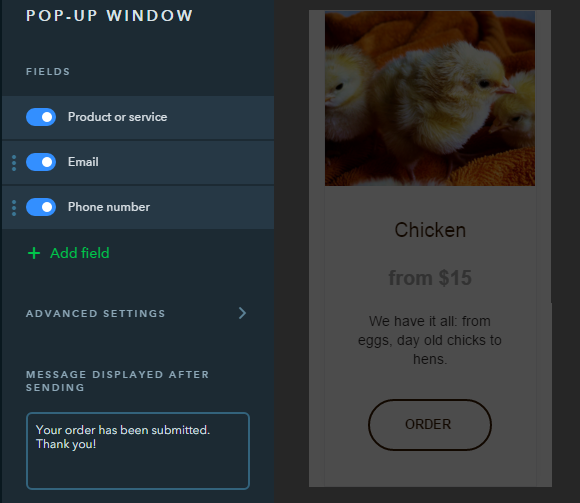
To edit a pop-up window, click on the pencil icon. The pop-up windows interface provides the following customization options: changing the name of the fields and their order, setting them as required or optional, modifying their size, and adding captions. You can drill down further with advanced settings, allowing you to choose how to mark the required and optional fields.
Please note that the form allows “inline editing”, which means you can click the text fields on the pop-up window form and edit them in-place.

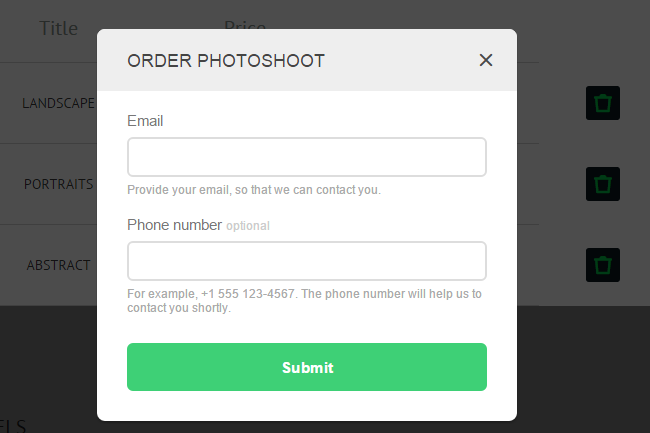
Here’s how the pop-up window will be displayed to your website’s visitors:

When a user fills out the form, the details are sent either to your registration email, or to an individual one provided in the pop-up form settings.
Currently, a pop-up window can be attached to the buttons of the following widgets:
- Button
- Slider
- Card
- Price List
The opportunity to connect a pop-up window to a text link will arrive soon.
And more...
This week’s update also includes:
— The Google Search widget that helps your visitors find necessary information on your website;— The opportunity to hide the menu from the header and the footer;
— SMS notifications from the Callback widget can now be duplicated to the email.
These and other updates and improvements will be covered in the coming posts, so stay tuned!

