
A multi-page block allows you to make a block that syncs across all the pages where it's placed. Any block that you create can be made multi-page.
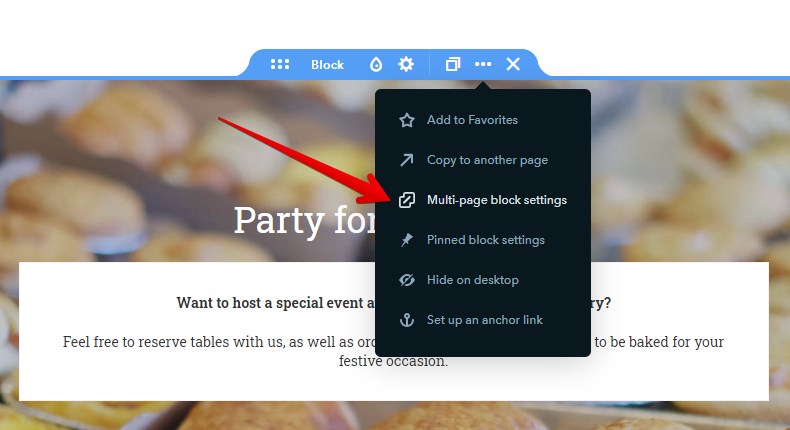
1. To make a block multi-page, go to the block settings, click on Actions in the block settings and select Multi-page block settings:
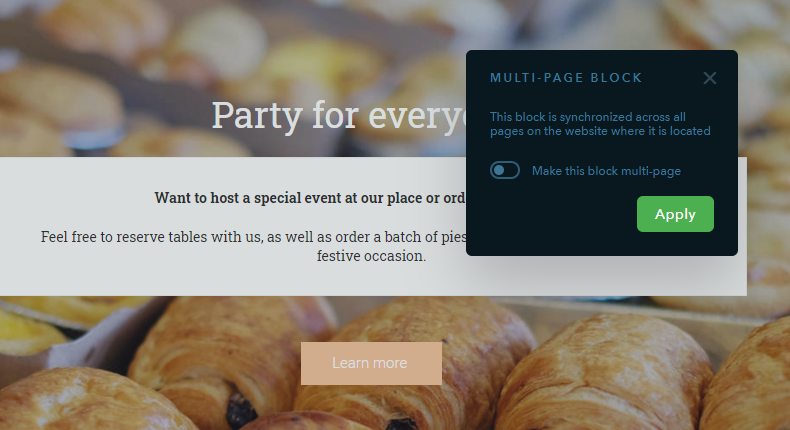
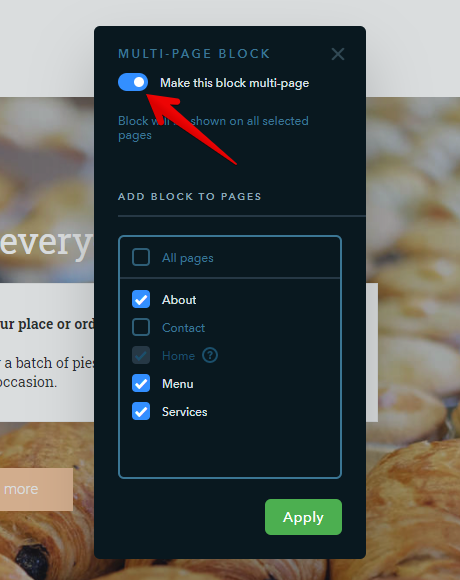
2. In the window that will open, enable the setting:
3. Select the pages where the block should appear and click Apply:
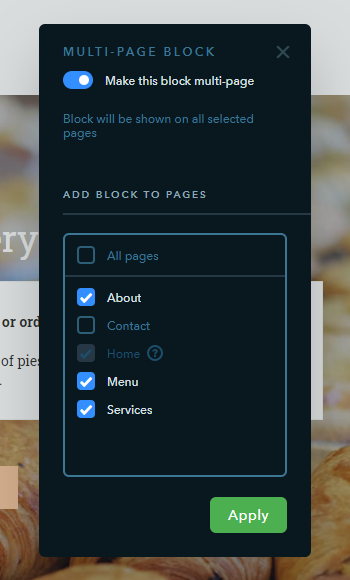
For now, multi-page blocks can be applied only for all pages, except the pages within an online store, blog, and service pages.
Why Do I Need a Multi-page Block?
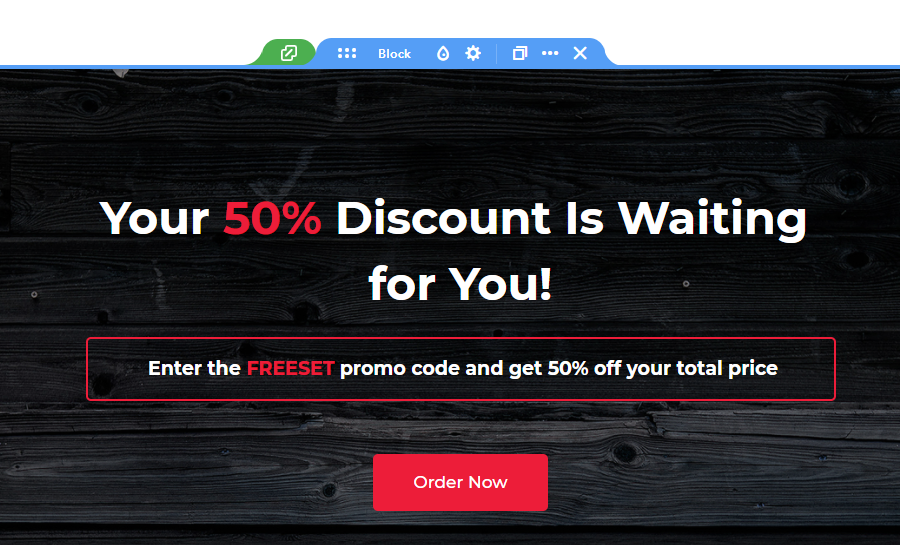
Those who create headers from scratch are sure to love this functionality — now it’s become much faster and more convenient! By the way, here's how the multi-page block looks in the Builder:

You can also place information about discounts or promotions into a multi-page block and then display this block on other pages in a few clicks. If the promotion conditions change, and the discounts are prolonged, you can quickly update the data throughout the site at once.
Some More Info About Multi-page Blocks
- What happens if I remove a multi-page block from a page?
The block will be removed only from that page but it will be available on other pages.
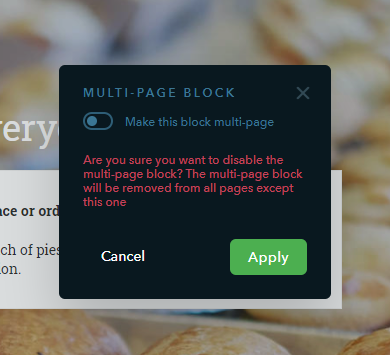
- Can I disable a multi-page block?
Yes, of course :) To do this, go to the block settings and disable the checkbox. The block will be removed from all pages except the one you are on. Then you can remove the block from this page in a common way, like any other.
- Where exactly on the other pages will the multi-page block appear?
By default, the block appears at the very top of the marked pages. If necessary, it can be moved to any place on the page manually by dragging the top border of the block.
The next updates are coming very soon, so follow the news on our blog and social networks! :)
Your comment